How to use Canva?
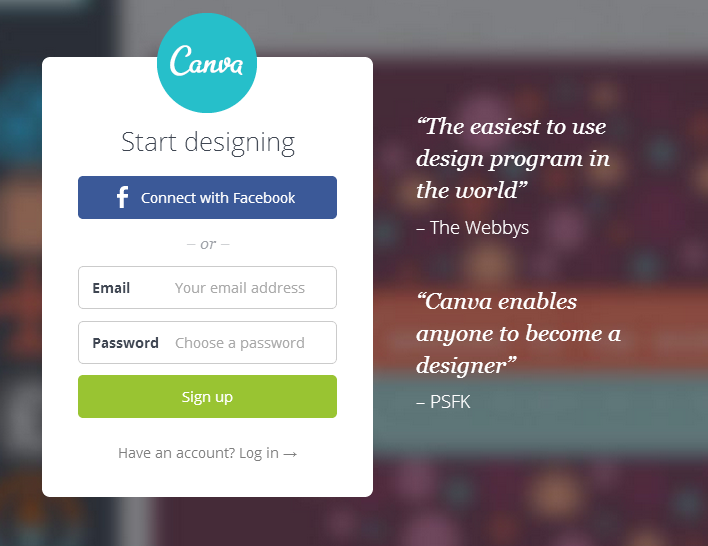
Step 1 – Signup for a free account. You can also use your Facebook account to login
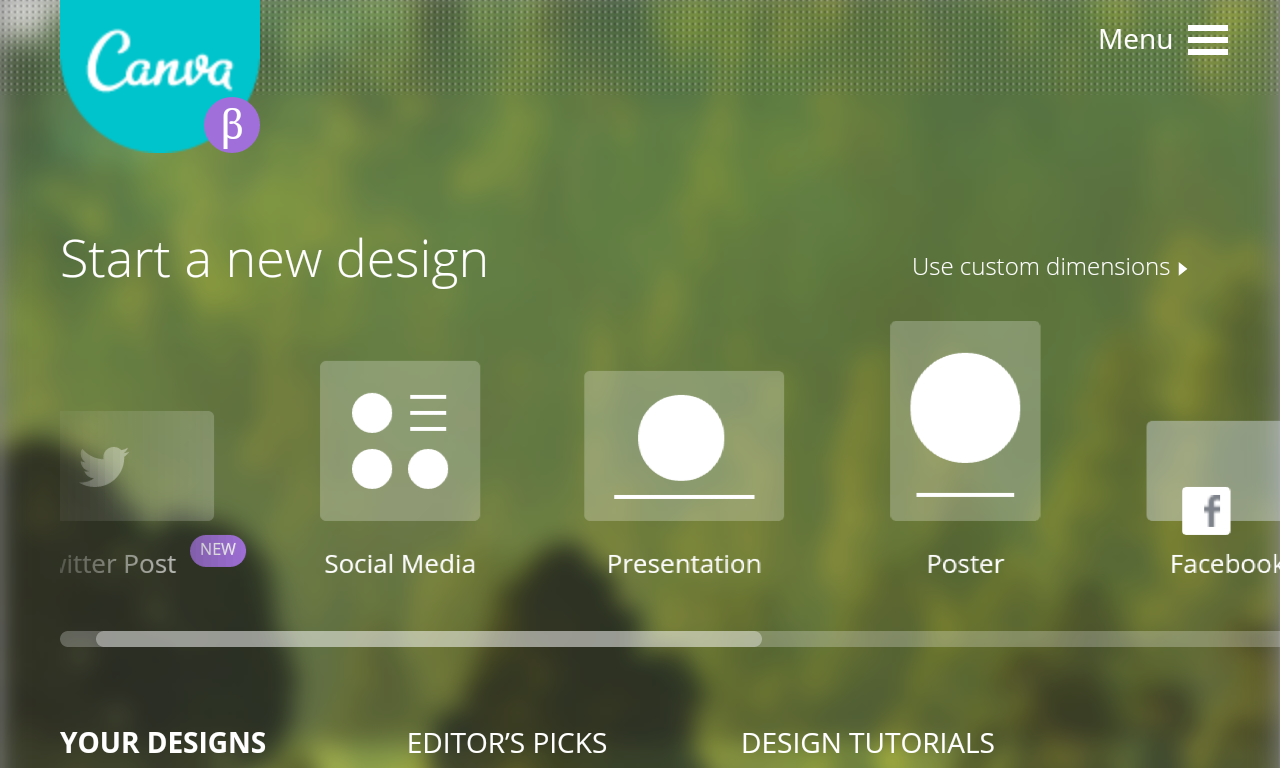
Step 2 – After you log-in, you’ll be greeted with a number of design layouts for various platforms. Choose the one of your choice. You can even choose to design a graphic of a custom dimension (I use this option to create 800*400 pixel sized posters for my blog posts)
Step 3 – The rest is your creativity. Add backgrounds, images, icons, texts, change layouts… Keep on working until it satisfies your creative mind 😉
Step 4 – Settled down for a design? Great. Now use the download link at the top to download your graphic.
Is it all for Free??
Yes, absolutely. Canva is free to create graphics as long as you are using its free elements (like free icons, shapes, images, texts, etc). However if you end up using some paid elements, then it’s only $1 a piece.
Need some tutorials to get started?
You can visit canva blog to get started with their designing tips and resources. And, here’s a pretty good video by Lisa Irby that walks you through the detailed tutorial –
[su_youtube url=”https://www.youtube.com/watch?v=kyROcitFW0w”]
Why using beautiful graphics is important?
- A beautiful graphic instantly attracts the attention of your readers. It is perhaps the first element in a post that interacts and makes the impression.
- Good graphics get pinned on Pinterest quite often. So you’ve the possibility to attract traffic from Pinterest too. Just imagine what will happen if a graphic goes viral over there 😀
- Possibility to attract traffic from Google image search is out of question – provided that you’re using alt-image tags properly!
How do you design?
If you’re a blogger like me, you also must be using graphics on your blog posts. Right? How do you design those graphics? Please share your ideas in the comments below…


